Best No-Bake Cheesecake Recipe (2025 Update)
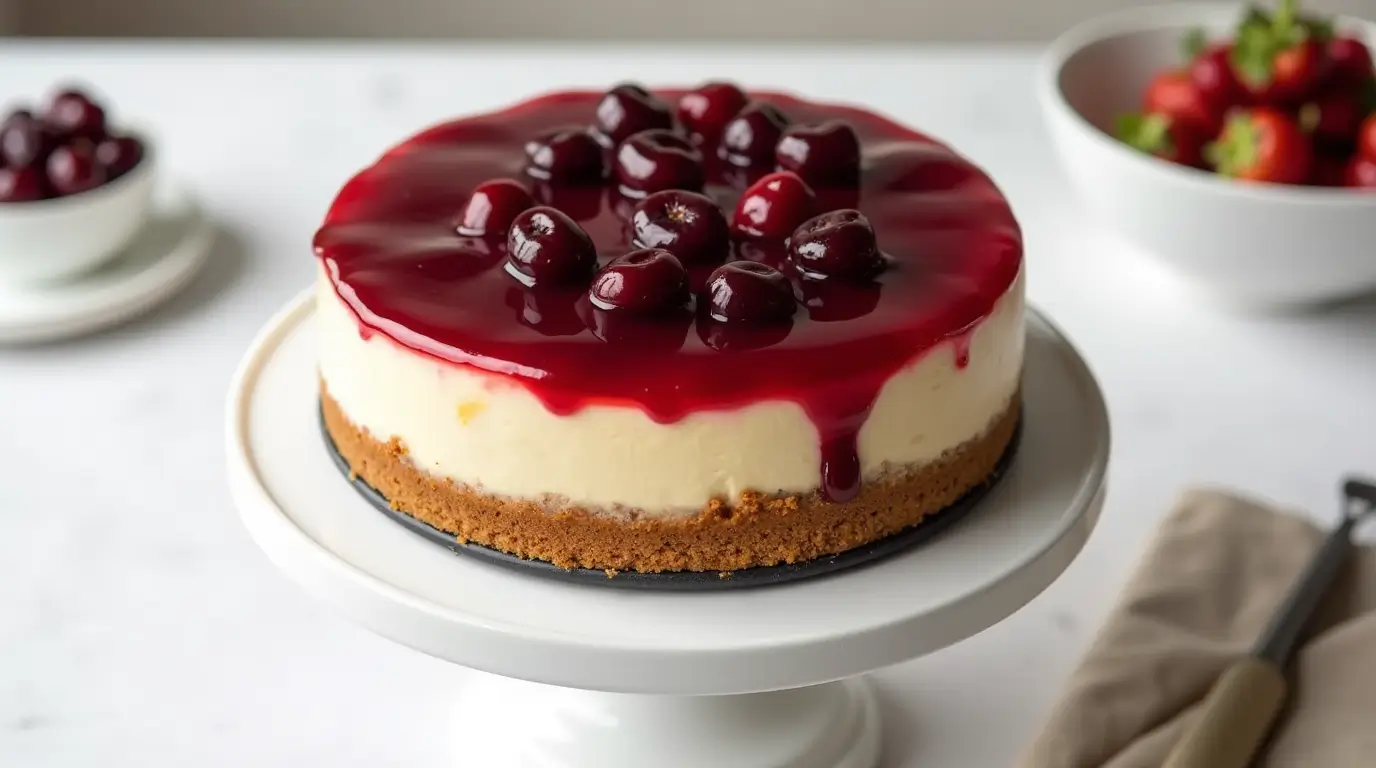
This perfectly creamy, cloud-like no-bake cheesecake has been my family’s go-to dessert for over a decade. With its buttery graham cracker crust and velvety smooth filling, it disappears in minutes at every gathering. The best part? No water baths, no cracking, and absolutely foolproof results every time!

Why You’ll Love This Recipe
There’s nothing quite like a slice of cheesecake to elevate any occasion from ordinary to extraordinary. After years of experimenting with countless recipes, I can confidently say this no-bake version outshines them all – and our readers agree! With a stunning 4.7-star rating from over 423 home bakers, this recipe has earned its crown.
What makes it so special? The magical combination of freshly whipped cream and cream cheese creates a texture that’s impossibly light yet decadently rich. Unlike traditional cheesecakes, there’s no fussing with water baths, no worrying about cracks, and zero oven time. It’s perfect for summer when you’d rather not heat up the kitchen, but honestly, we make it year-round.
Ingredients You’ll Need
For the Crust:
- 1½ cups graham cracker crumbs (about 12 full sheet graham crackers)
- ⅓ cup packed brown sugar
- ½ teaspoon ground cinnamon
- ⅓ cup butter, melted
For the Filling:
- 2 (8-ounce) packages cream cheese, at room temperature
- 2 teaspoons fresh lemon juice
- 1 pint heavy whipping cream, cold
- ⅓ cup white sugar
For the Topping (Optional):
- 1 (21-ounce) can cherry pie filling
- OR fresh berries of your choice
Equipment Needed
- 8 or 10-inch springform pan
- Electric mixer (stand or hand mixer)
- Medium and small mixing bowls
- Measuring cups and spoons
- Spatula
- Optional: food processor for crushing graham crackers
Step-by-Step Instructions
Making the Perfect Crust
- Prepare the crumbs: If starting with whole graham crackers, pulse them in a food processor until finely ground. You can also place them in a plastic bag and crush with a rolling pin.

- Mix the dry ingredients: In a small bowl, stir together graham cracker crumbs, brown sugar, and cinnamon until well combined.
- Add the butter: Pour in melted butter and mix until the mixture resembles wet sand and holds together when pressed.
- Form the crust: Press firmly into the bottom of your springform pan. I find using the bottom of a measuring cup helps create an even layer.

- Chill: Place in the refrigerator for at least 30 minutes to firm up while you prepare the filling.
Creating the Cloudlike Filling
- Prep the cream cheese: In a medium bowl, beat softened cream cheese and lemon juice with an electric mixer until completely smooth and free of lumps, about 2 minutes. Don’t rush this step – room temperature cream cheese is essential for a smooth result!
- Incorporate the cream: With the mixer running, gradually add the cold heavy whipping cream. Continue beating until the mixture thickens noticeably.
- Add sweetness: Sprinkle in the sugar and beat until the mixture holds stiff peaks when the beater is lifted. The filling should be thick enough to hold its shape but still smooth and creamy.

Assembly and Chilling
- Fill the crust: Spoon the cream cheese mixture over the chilled crust and smooth the top with a spatula.
- Add topping (optional): Either add your topping now, or wait until just before serving. Both methods work beautifully!

- Chill thoroughly: Cover loosely with plastic wrap and refrigerate for at least 8 hours, preferably overnight. Trust me on the overnight chill – it makes a world of difference in the texture and flavor!

- Serve: When ready to serve, run a thin knife around the edge of the pan before releasing the springform ring. Slice with a clean, sharp knife dipped in hot water between cuts for the most pristine slices.
Recipe Tips and Variations
For Guaranteed Success
- Temperature matters: Make sure your cream cheese is at room temperature, but keep your heavy cream cold for the best whipping results.
- Beat thoroughly: Ensure the cream cheese is completely smooth before adding other ingredients to avoid lumps in your final dessert.
- Don’t under-whip: Continue beating until the mixture holds firm peaks – this is what gives the cheesecake its structure since there’s no gelatin or eggs.
- Chill completely: Don’t rush the chilling time – it needs those hours to set properly.

Creative Variations
Over the years, I’ve experimented with countless variations of this versatile recipe. Here are some reader favorites:
- Chocolate lovers: Add 1/3 cup cocoa powder and increase sugar to 1/2 cup for a chocolate version.
- Citrus blast: Add 1 tablespoon of lemon or lime zest to the filling for a refreshing twist.
- Cookie crust: Substitute Oreo cookie crumbs or vanilla wafers for the graham crackers.
- Berry beautiful: Fold 1 cup of fresh berries directly into the filling before chilling.
- Coffee infusion: Dissolve 1 tablespoon of instant espresso powder in the lemon juice before adding.
Frequently Asked Questions
Can I make this cheesecake ahead of time? Absolutely! In fact, it gets better after 24 hours in the refrigerator. You can make it up to 3 days ahead and keep it covered in the refrigerator.
How long does it keep? This cheesecake stays fresh for up to 5 days when properly stored in the refrigerator.
Can I freeze this cheesecake? Yes! Freeze the whole cheesecake or individual slices by wrapping tightly in plastic wrap and aluminum foil. Thaw overnight in the refrigerator before serving.
What if I don’t have a springform pan? A pie plate works in a pinch, though the slices won’t be as neat. You can also use a cake pan lined with parchment paper with extra hanging over the edges to help lift it out.
My filling isn’t thickening. What went wrong? The most common culprit is warm cream. Make sure your heavy cream is very cold, and chill your mixing bowl and beaters for 15 minutes before whipping for best results.
Nutrition Information
Each serving contains approximately 459 calories, 34g fat (21g saturated), 109mg cholesterol, 236mg sodium, 36g carbohydrates (15g sugars, 1g fiber), and 5g protein.
Note: This information is provided as a general guideline and should not be considered a substitute for professional nutrition advice.
This no-bake cheesecake has been part of our family’s celebration table for years, and I’m thrilled to share the updated 2025 version with you! When you make it, be sure to let me know how it turned out in the comments below. And don’t forget to share your gorgeous creations on social media – tag us with #BestNoBakeCheesecake so we can admire your work!
Happy baking (or rather, no-baking)!
Have you tried our recipe? Share your review!
There are no reviews yet. Be the first one to write one.